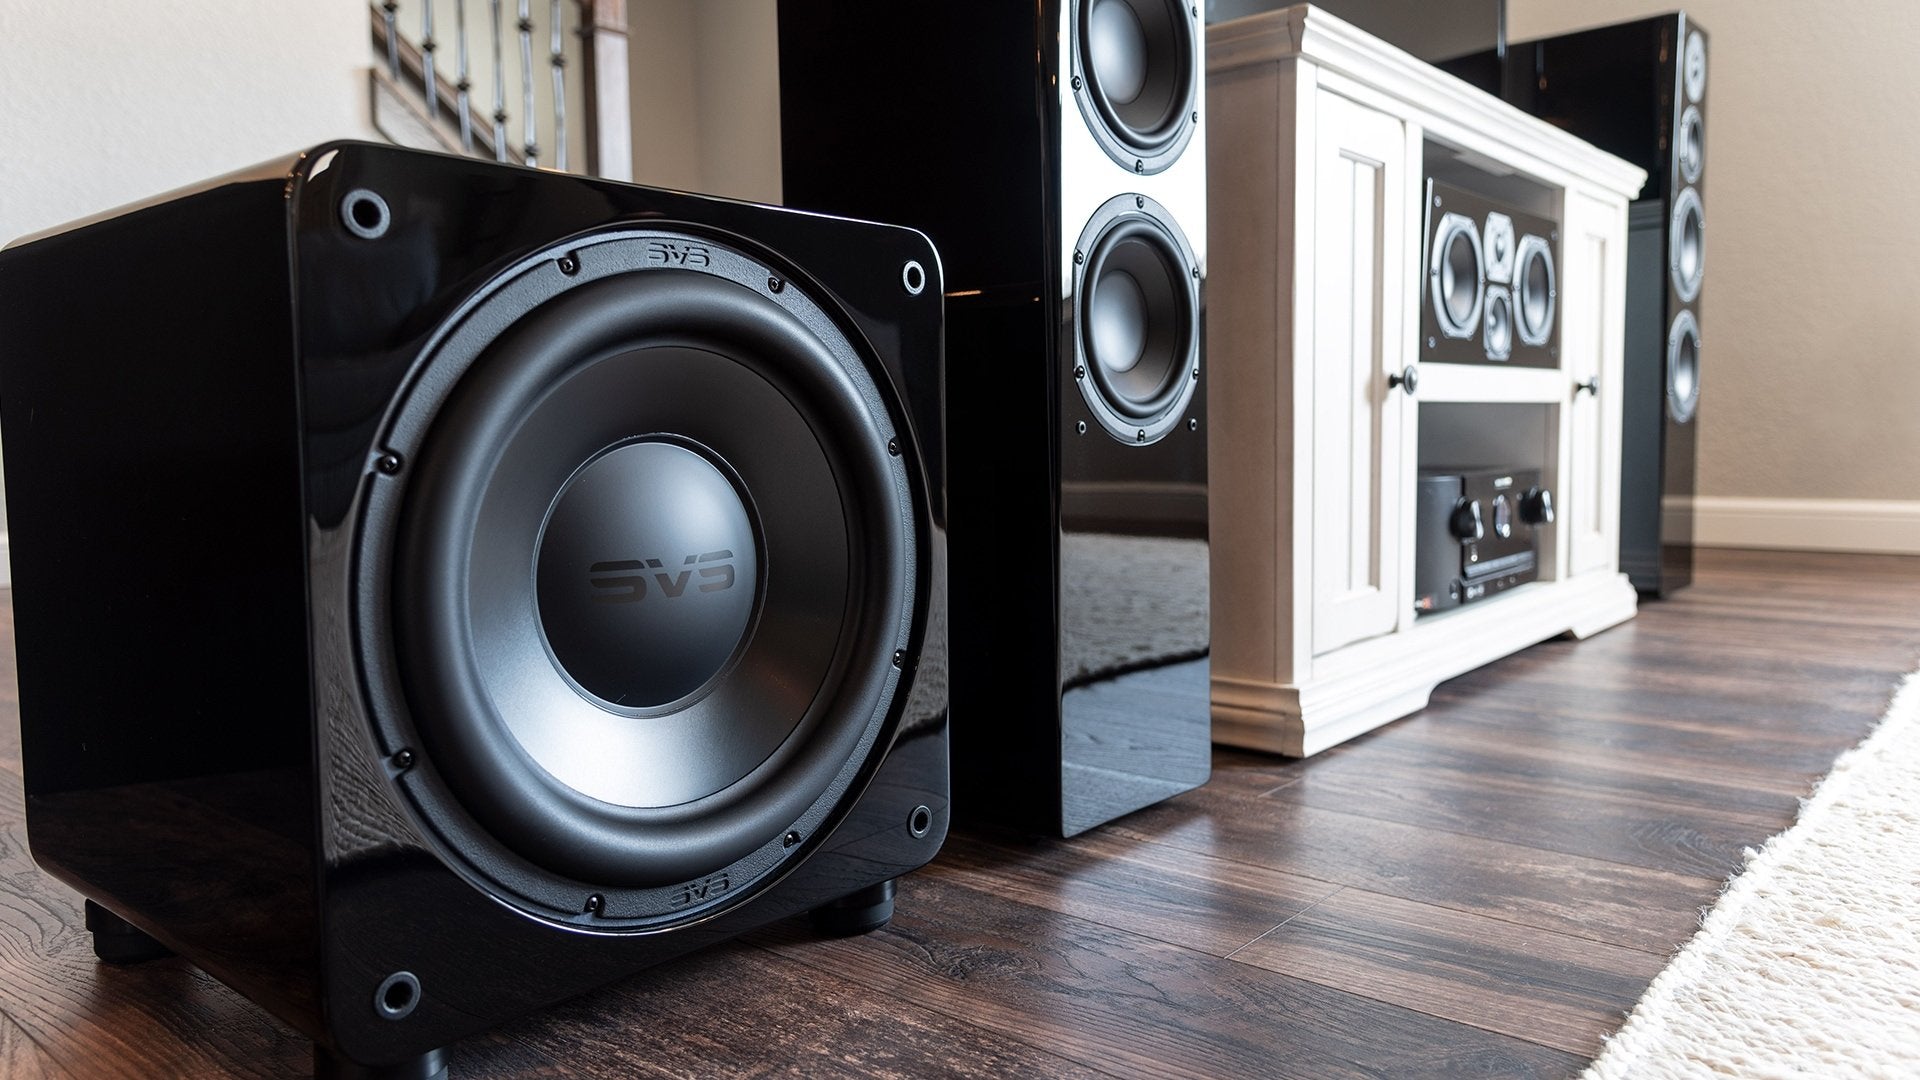
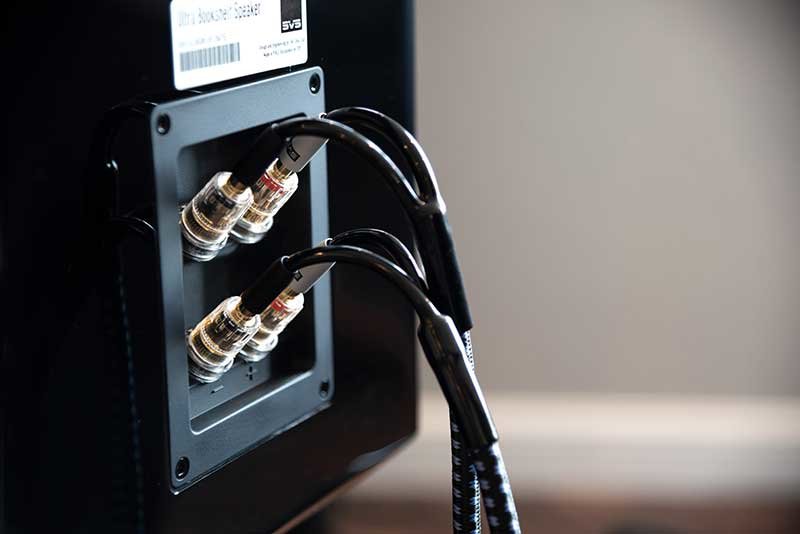
Step 1 - Does the sub have an analog or digital volume control?
If it's analog: it probably has a rotary knob; set the knob to its 12 or 1 o'clock position, about midway in its range.
If it's digital: the control might be in an app from the manufacturer; start at a setting of -15 (assuming the max value is 0).
These settings will give the AVR or preamp/processor enough leeway to set the final sub-level correctly during its auto-setup routine.
Step 2 - Set the LPF controls
Most subwoofers also have phase and low-pass filter (or LPF) controls.
Set phase to 0.
Set LPF to its highest frequency or off. If the LPF control is a rotary knob, turn it to its fully clockwise position, which might be marked "LFE." If the LPF control is digital, disable it entirely.
Step 3 - Run the auto-setup routine in the AVR or preamp/processor with the calibration microphone at the listening position.
This will play test signals from each speaker and the subwoofer.
Step 4 - Confirm the subwoofer level
After the routine is complete, take a look at the subwoofer level within the AVR or preamp/processor. In Onkyo, Marantz, and Denon AVRs, this value ranges from -12 to +12; in Yamaha and Pioneer AVRs, it's between -10 and +10.
Step 5 - Did the AVR automatically set the subwoofer level at its lowest value?
If so, turn down the sub's onboard level control somewhat and run the auto-setup routine again. Repeat until the automated sub level in the AVR or preamp/processor is not the lowest possible value.
This ensures that the sub volume is correct as far as the auto-setup routine is concerned.
Step 6 - Confirm the bass-management settings
Take a look at the bass-management settings in the AVR or preamp/processor—specifically, whether or not the auto-setup routine identified any of the main speakers as "large."
Make sure all main speakers are set to "small" so the low frequencies in all main channels are redirected to the subwoofer, which is much better at reproducing those low frequencies than just about any main speaker.
Step 7 - Set the crossover for each speaker
Once all the main speakers are set to "small," set the crossover for each one, which determines the point at which low frequencies start being redirected to the sub.
This depends on the make and model of each speaker. Set the crossover 10-15 Hz above the speaker's measured or specified bass extension. For example, if the speaker's bass extension is 40 Hz (-3 dB), the crossover for that speaker should be set to 50-55 Hz.
Step 8 - Push play - How does it sound?
Play some of your favorite content, and don't forget about those clips with lots of low bass to really put it to the test.
How does it sound to you? Is the bass well integrated with the rest of the sonic spectrum? Does its impact seem lacking?
If you want a bit more, try increasing the level by 2-4 dB. But be careful; if you goose it more than that, the bass will likely overpower the rest of the sound.
Step 9 - Need more bass? Increase the subwoofer level.
If you want to increase the subwoofer level, a common question we receive is: should you do it in the AVR or on the sub itself?
If the sub has an analog rotary volume control, adjust the level in the AVR, which offers more precise and repeatable settings.
If the sub provides a digital level control, it doesn't matter where you make the adjustment.


Comments (3)
Please share your thoughts below.
LEAVE A COMMENT3 Comments
Meu setup é JBL arena 180 uso elas em small 40 hz uso meu subwoofer klipsh sw 12 em LFE qual o melhor crossover?
Pode ser 60 hz?
This article offers some fantastic tips for enhancing subwoofer performance! The suggestions are practical and easy to follow, making it simple to achieve richer, more impactful sound. I especially appreciate the advice on placement and tuning—these insights can make a significant difference in audio quality. Great job on providing clear and actionable steps for improving subwoofer sound! Visit Us: https://www.intrasonictechnology.com/speakers/speaker-brackets/
I have a pair of Legacy’s Signature SE and a pair of SVS SB 3000. Given that the tower’s specs list bass down to 22 hz where should I set the sub’s low frequency filter?